|
|
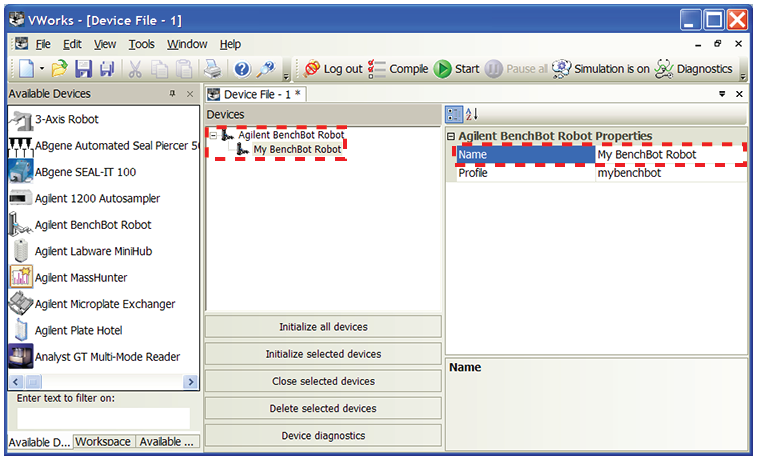
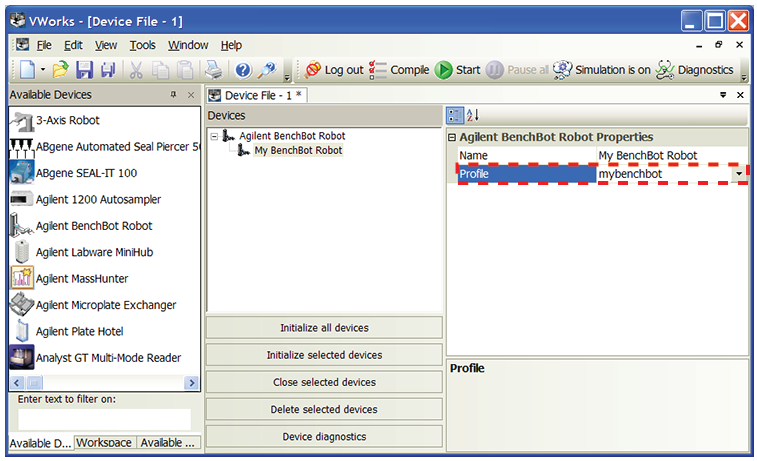
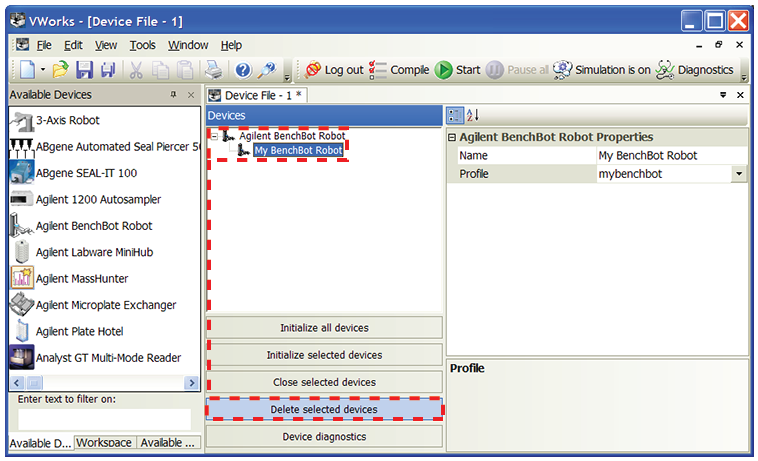
Adding and deleting BenchBot Robots in the device fileAdding BenchBot Robots in the device fileTo add a BenchBot Robot in the device file:
...\Agilent Technologies\VWorks\Plugins folder.If you added the BenchBot Robot plugin file in the Plugins folder and you have already started the VWorks software, be sure to reload the plugin. To do this, close any open device files and protocol files, and then select Tools > Reload Plugins.