|
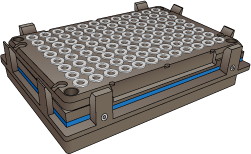
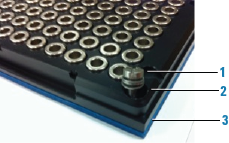
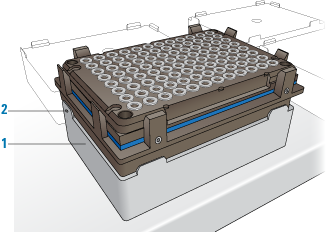
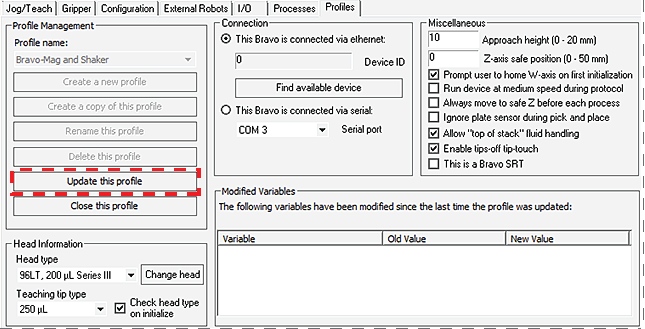
This topic describes how to set up the Magnetic Bead Accessory on a standard platepad.Figure. Magnetic Bead Accessory
a Remove the four corner screws from the magnet (item 1 in the following figure.
b Remove the springs from between the black plastic magnet mounting (figure, item 2) and metal backing plate (item 3).
The Magnetic Bead Accessory dimensions are greater than the standard platepad in length (x‑axis) and depth (y‑axis). To ensure that the software takes the dimensions of the accessory into account during automated moves, you should configure the deck location for this accessory in Bravo Diagnostics.
1
2 Click the Configuration tab.
3 In the Locations list, select the deck location of the accessory.
4
5
1 At the target installation location, make sure that a standard platepad is installed and ensure the Magnetic Bead Accessory is removed from the platepad. Set it aside temporarily.
2
3 Click Teach.
4 Click Move to safe height at current X/Y position.
5 Reposition the Magnetic Bead Accessory on the platepad, as shown in the following figure (1). Ensure that the accessory is fully seated on the platepad.
6 Using the 1.5 mm wrench, tighten the set screw in the tab, as shown in preceding figure (2), to secure the base to the platepad.
7
8 The Bravo head moves to the deck location and moves down so that the pipette tip is approximately 2 mm above the Magnetic Bead Accessory.If necessary, adjust the x- and y-axes at this point, and then jog the head down by 2 mm to the teachpoint z‑axis and click Teach.
10
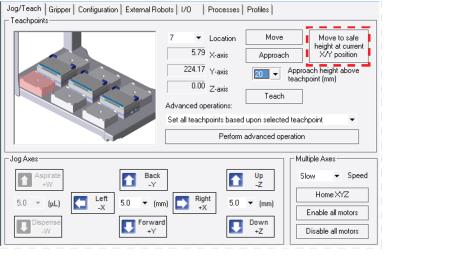
Verify the this accessory teachpoint for your microplate type using a full set of tips. For guidance, contact Agilent Technical Support.
Bravo Platform hardware components