|
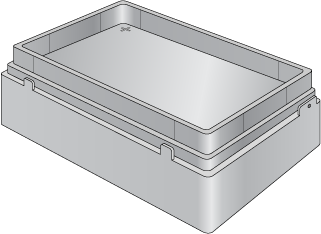
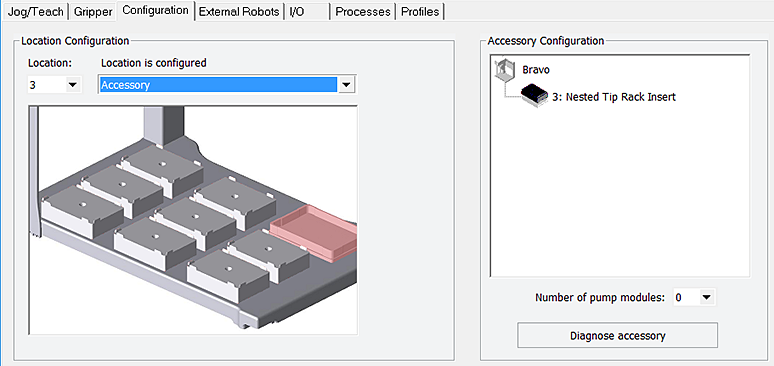
You should install the Nested Rack Insert if you are using nestable tip racks on the Bravo Platform. The insert ensures the stability of a nestable tip rack during tips-on and tips-off tasks. Up to five nestable tip racks can be stacked on a single platepad using the Nested Rack Insert.After you install the Nested Rack Insert, you configure the software to automatically select the location in VWorks during tips-on and tips-off tasks.This topic describes how to install and configure the Nested Rack Insert.
Make sure you do the following before installing the Nested Rack Insert:In the Labware Editor, click the Plate Properties tab. In the Requires insert list, select Nested Rack Insert.
• Verify that the gripper y‑axis offset is correct. See Verifying the gripper setup. In Bravo Diagnostics, perform a place plate task to move a nested tip box and ensure the gripper y‑axis offset is correct.
1 On the Bravo deck, locate the platepad where you plan to do tips-on and tips-off tasks. Place the Nested Rack Insert on the platepad, making sure to align the crosshairs on the insert (1) directly above the platepad crosshairs.
2
1
2 Click the Configuration tab.
3
4 Follow the instructions in the Accessories Wizard to:
a Specify the Location of the installed insert.Note: Your selection in the Accessories Wizard overrides the default selection in the Configuration tab.
b Choose the Nested Tip Rack Insert.
5 When the configuration message appears, click Yes to initialize the accessory and move the teachpoint to a safe height.
6 Set the teachpoint for the Nested Rack Insert using the same procedure that you would for a platepad.The Nested Rack Insert is approximately 5 mm taller than a standard platepad.
7
Bravo Platform hardware components Gripper y-axis offset