Bravo Platform User Guide : Setting up the Barcode Reader : Creating a profile for the Barcode Reader

Creating a profile for the Barcode Reader
About this topic
This topic explains how to add the Barcode Reader device, and then create and initialize a profile for the Barcode Reader.
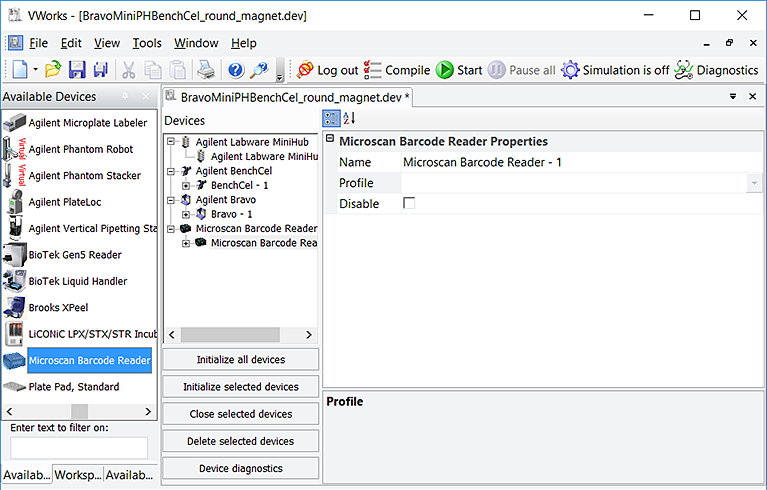
For details on creating a device file or adding devices to a device file, see Creating or adding a Bravo device.
Procedure
To add the Barcode Reader device and create a profile:
1
In the VWorks window, create a new or open an existing Bravo device file.
2
In the Available Devices area, double-click the Microscan Barcode Reader. The Microscan Barcode Reader icon appears in the Devices area.
 
3
In the Devices area, select the Microscan Barcode Reader icon, and click Device diagnostics. The Barcode Reader Diagnostics dialog box opens.
Figure. Microscan Barcode Reader Diagnostics dialog box
 
4
In the Profiles tab under Profile Management, click Create a new profile. The Create Profile dialog box opens.
5
Type a name for the new profile and click OK. The new profile name appears in the Profile name list.
6
In the Profile Settings area, select the Accessories Hub Serial port that is connected to the Barcode Reader.
7
Microscan only. In the Default barcode side list, select East or West to indicate the side of the labware that has the barcode label.
Note: The Bravo Barcode Reader can scan barcode labels on the labware east and west sides only.
8
Click Update this profile to save the newly created profile.
9
Click Initialize this profile to establish communication with the Barcode Reader.
10
In the VWorks software window, choose File > Save and save the device file.
Related information