Microplate Labeler User Guide : Maintenance and troubleshooting : Checking the basic applicator functions

Checking the basic applicator functions
About this topic
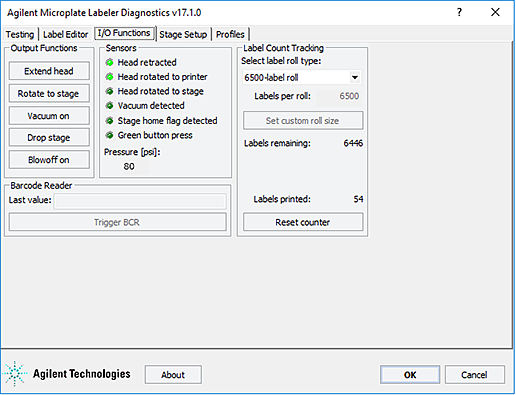
This topic describes how to use Microplate Labeler Diagnostics to verify the performance of basic applicator functions. You can perform this procedure at any time to double-check the applicator functions or to help troubleshoot problems.
Before you start
The following procedure assumes that:
Microplate Labeler Diagnostics is open. For details, see Opening Diagnostics.
Procedure
You can use the I/O Functions tab in Microplate Labeler Diagnostics to test basic applicator functions.
 
To test basic applicator functions:
1
In the Microplate Labeler Diagnostics window, click the I/O Functions tab.
2
Under Output Functions, click a toggle button to perform the corresponding task and verify that the corresponding indicator lights in the Sensors area.
Click the toggle button again to return to the original position.
 
*Before rotating the head, make sure that it is retracted and that a short side of plate stage is facing you as you stand in front of the device. Otherwise, the applicator head will hit the plate stage.


3
While observing the Green button press indicator in the Sensors area, press and hold the green button on top of the device. The Green button press light should turn on.
Note: If a print job has been created, pressing the green button will start the labeling operation.
4
Under Pressure (psi), verify that the air pressure readout is correct: 80 psi (0.55 MPa), minimum.
If the readout is <80 psi. Verify that the air source is supplying 80 psi (0.55 MPa), minimum. If the source is above 80 psi and the readout is below 80 psi, use the pressure regulator knob on the back of the applicator to increase the pressure.
If the readout is >87 psi. Use the pressure regulator knob on the back of the applicator to lower the pressure to 85 psi (0.58 MPa), maximum.
Related topics
 
Microplate Labeler Diagnostics controls and indicators