VWorks Setup Guide : Setting up a Windows 7 MySQL database : Installing and setting up MySQL 5.1

Installing and setting up MySQL 5.1
Before you start
Required installation files
Ensure you have the following installation files:
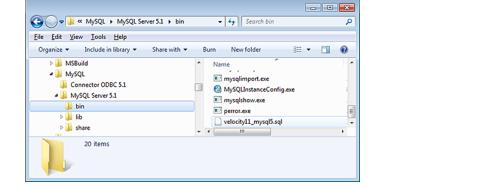
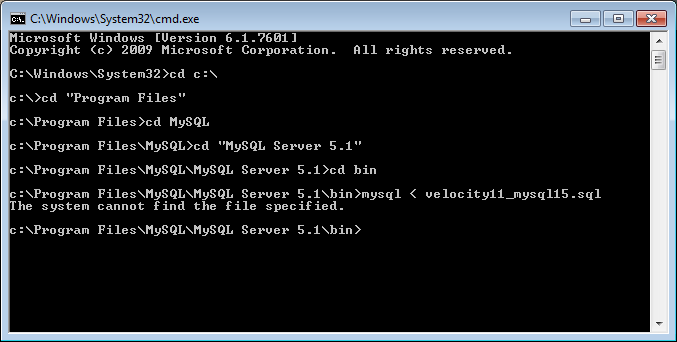
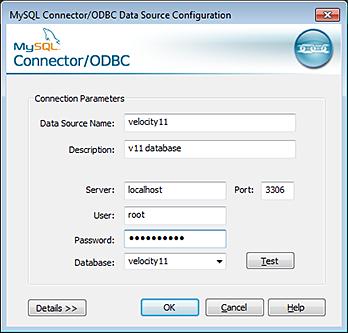
This file is installed with the VWorks software in
C:\Program Files (x86)\Agilent Technologies\VWorks\Schema\velocity11_mysql5.sql
For assistance, contact Agilent Technologies Automation Solutions Technical Support.
Required computer settings
Before you install the MySQL software:
Folder options > View settings:
Select Show hidden files, folders, and drives.
Clear the Hide extensions for known file types check box.
For detailed instructions, see the Microsoft Windows user documentation.
Installation and setup workflow
 
Connect to the VWorks inventory management database.
Installing MySQL Server 5.1
To install MySQL Server 5.1:
1
mysql-essential-5.1.44-winx64.msi
2
When the MySQL Server 5.1 Setup Wizard opens:
a
Click Next to start the wizard.
b
In the Setup Type page, select Typical > Next.
 
c
Click Install.
d
In the Wizard Completed page, select Configure the MySQL Server now > Finish.
 
3
When the MySQL Server Instance Configuration Wizard opens:
a
Click Next to start the wizard.
b
Select Standard Configuration > Next.
 
4
In the select Windows options page, select all 3 check boxes, and then click Next:
 
5
In the security options page, do the following:
a
Select Modify Security Settings
b
Enter the New root password as velocity11
c
Select Enable root access from remote machines
d
Select Create An Anonymous Account > Next.
 
6
When the Ready to execute page appears, click Execute.
7
 
Installing and setting up a MySQL ODBC
To install and set up a MySQL ODBC connection:
1
mysql-connector-odbc-5.1.6-winx64.msi
2
When the MySQL Connector/ODBC 5.1 Setup Wizard opens:
a
Click Next to start the wizard.
b
In the Setup Type page, select Typical > Next.
 
c
Click Install to start the installation.
d
In the Wizard Completed page, click Finish.
 
3
C:\Program Files\MySQL\MySQL Server 5.1\bin\
 
4
a
b
Right-click cmd.exe and select Run as administrator.
c
In the User Account Control dialog box, click Yes.
 
5
cd c:\ <press ENTER>
cd Program <press TAB>
cd MySQL <press ENTER>
cd MySQL <press TAB>
cd bin <press ENTER>
mysql < velocity11_mysql5.sql <press ENTER>
 
Close the command window.
6
a
b
Right-click odbcad32.exe, and select Run as administrator.
7
In the ODBC Data Source Administrator dialog box:
a
Click the User DSN tab, select any predefined MySQL ODBC Driver Sources named velocity11, and click Remove.
Click the System DSN tab, select any predefined MySQL ODBC Driver Sources named velocity11, and click Remove.
b
In the System DSN tab, click Add to create a new data source.
c
In the Create New Data Source dialog box, select MySQL ODBC 5.1 Driver, and then click Finish.
 
8
In the MySQL Connector/ODBC Data Source Configuration dialog box that opens, define your data source as follows:
Note: Use the default port number displayed in the Port box.
 
 
v11 database (optional)
9
Click Details to expand the dialog box. In the Flags 1 tab, select the following:
 
10
To verify that the data source file is properly configured, click Test. A message appears telling you that the connection was successful. Click OK to return to the ODBC Data Source Administrator dialog box.
11
In the System DSN tab, verify that velocity11 appears in the System Data Source box, and then click OK.
 
Related information
 
VWorks labware inventory management feature
How to connect to the VWorks inventory management database