|
|
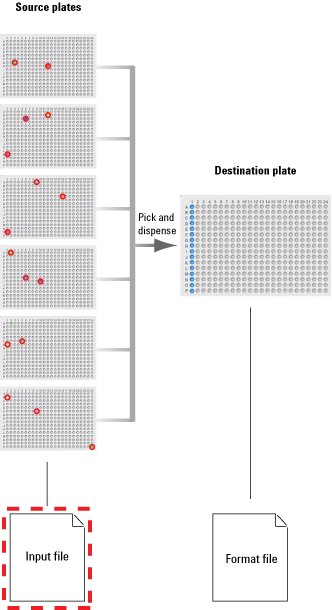
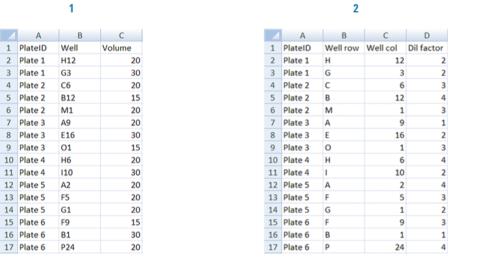
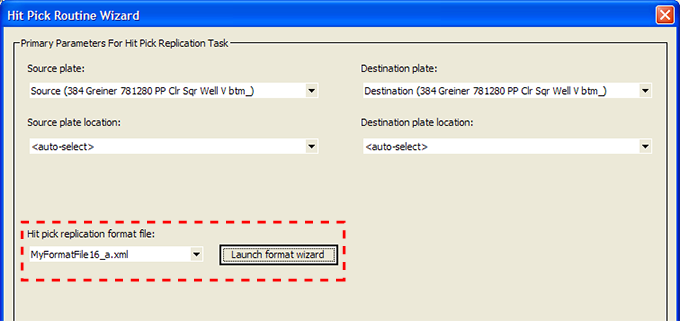
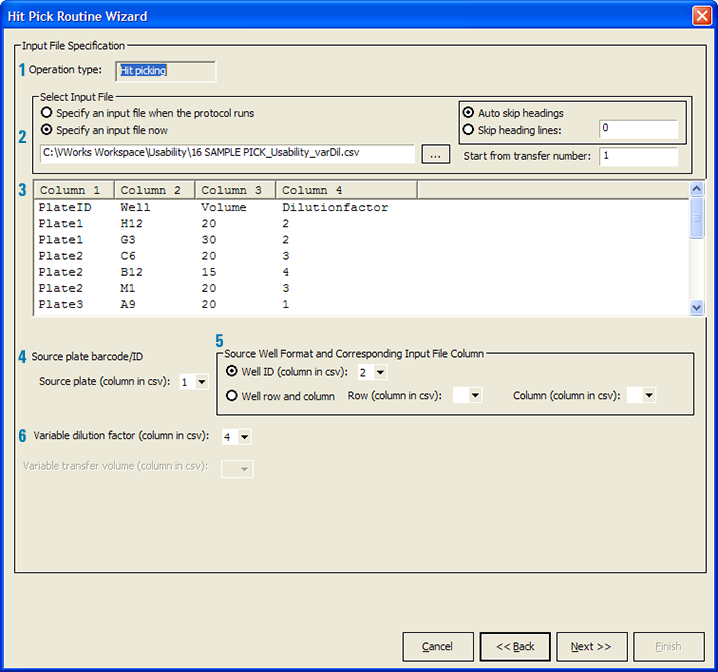
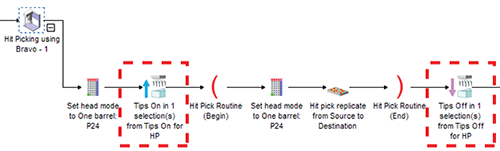
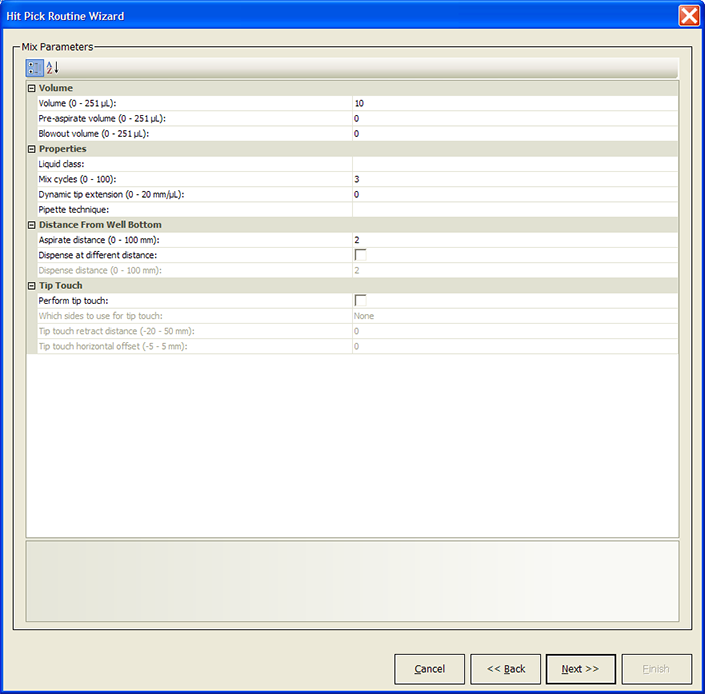
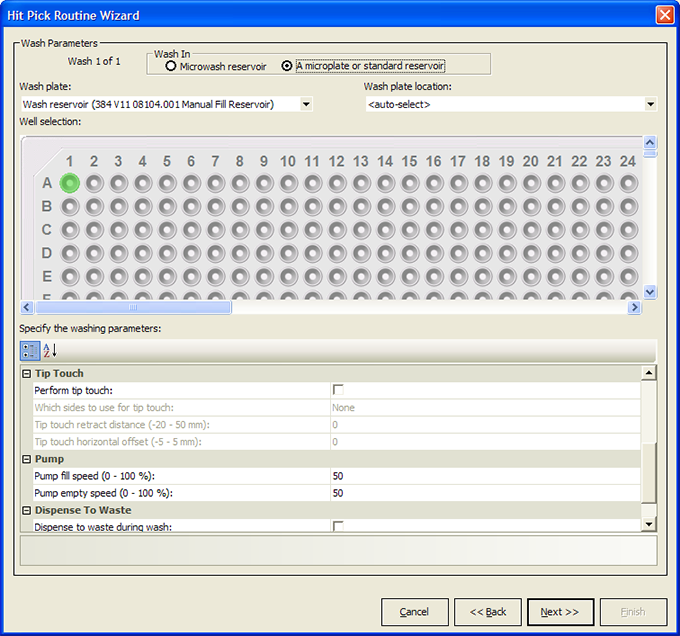
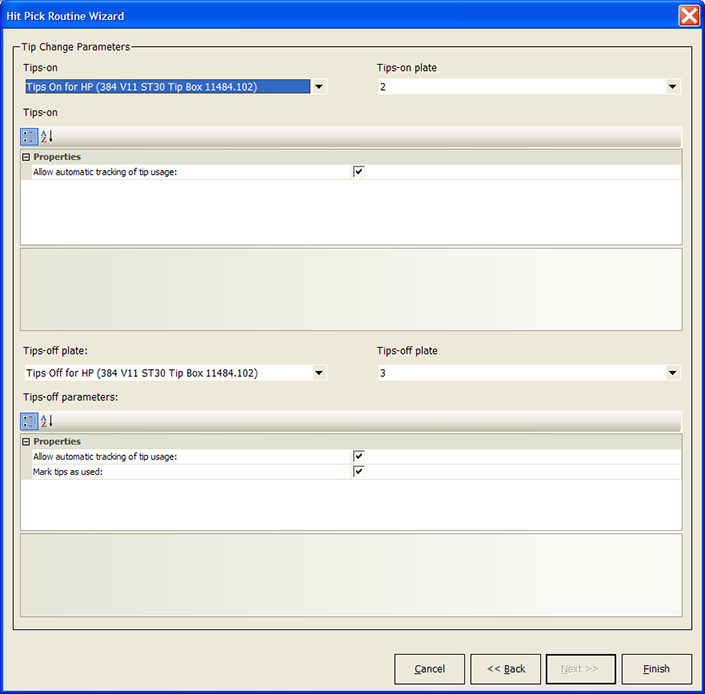
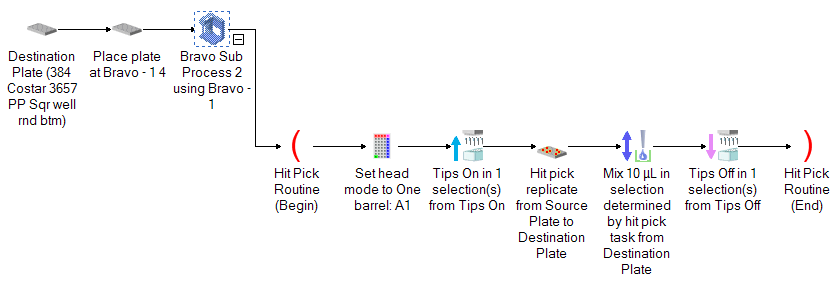
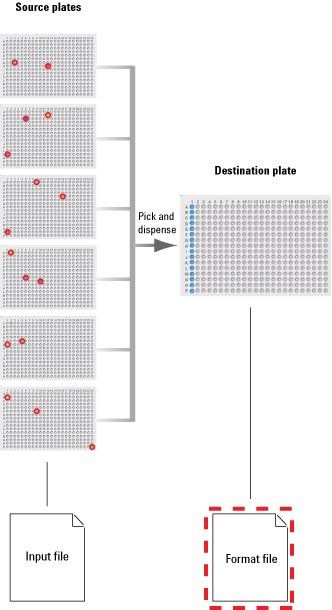
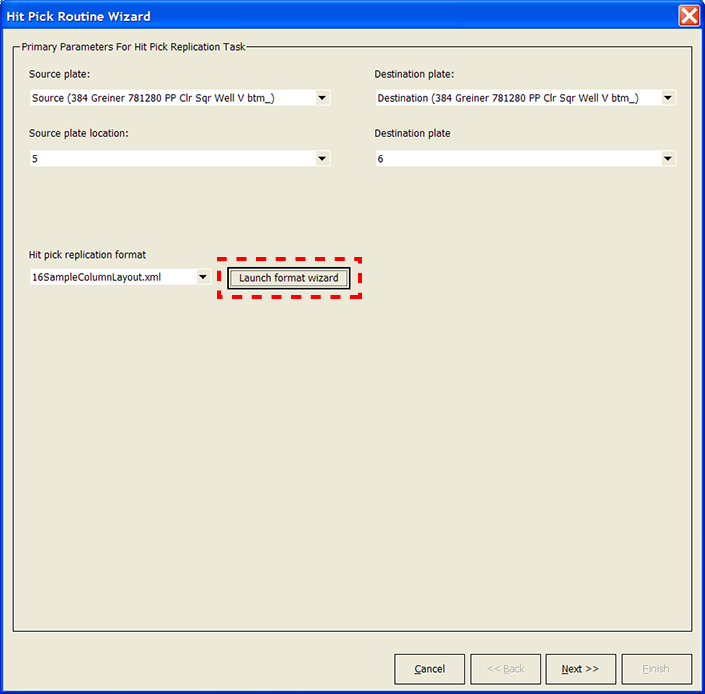
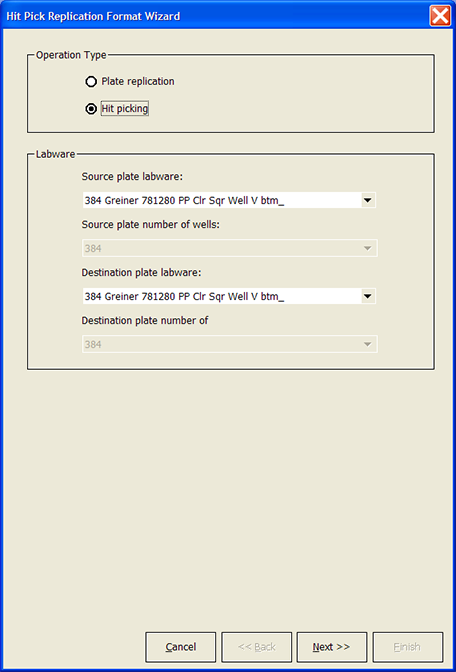
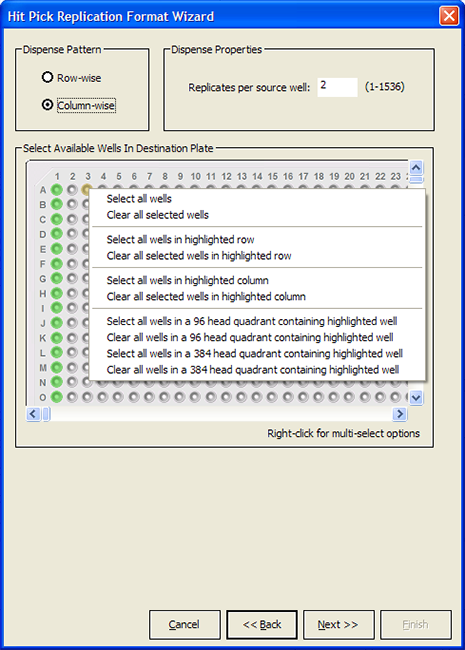
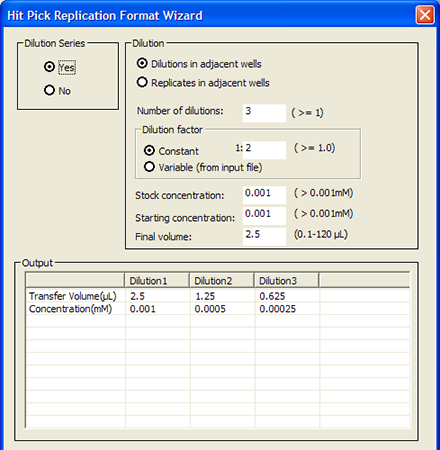
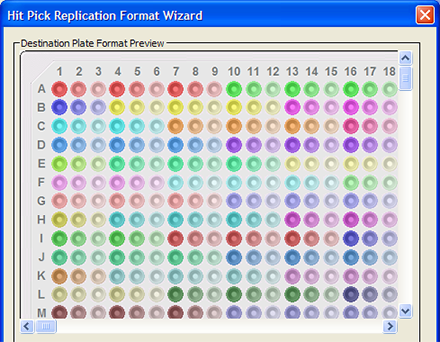
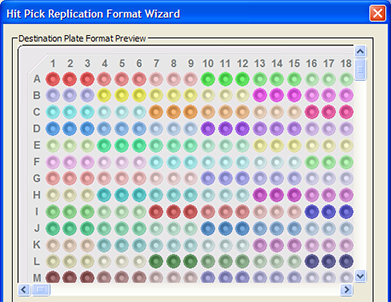
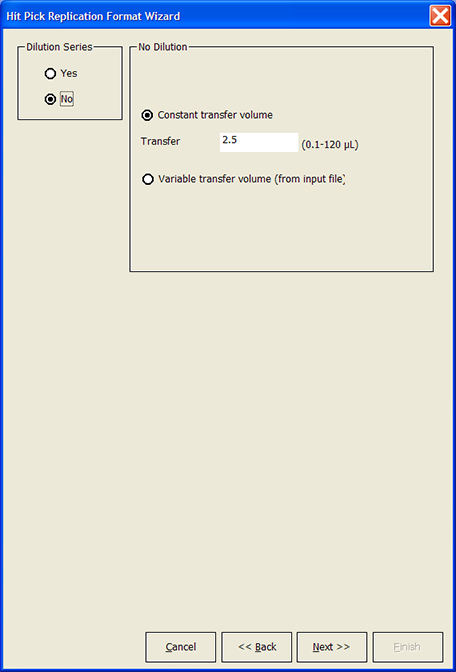
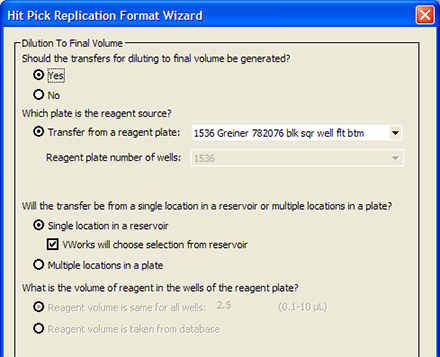
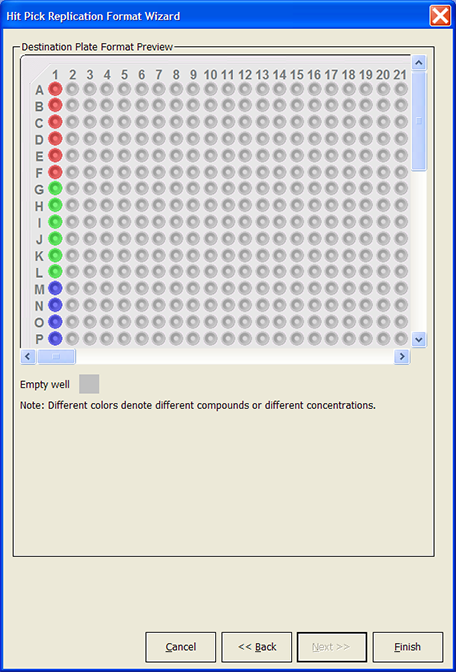
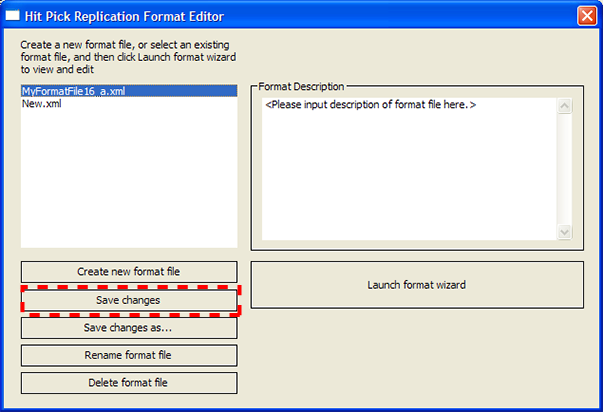
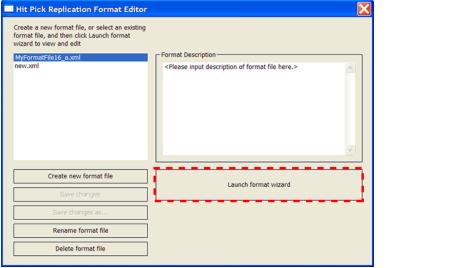
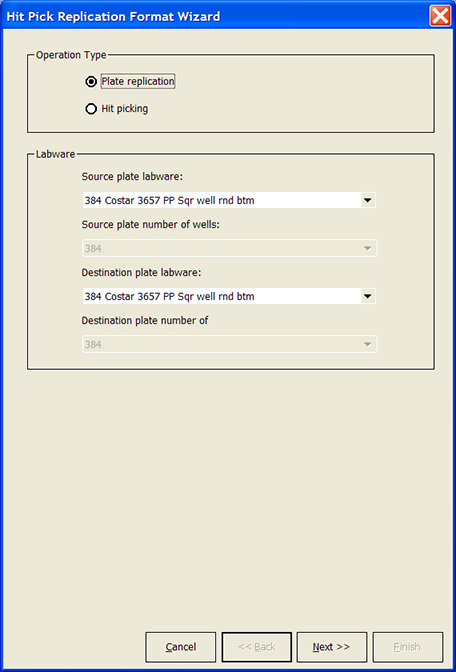
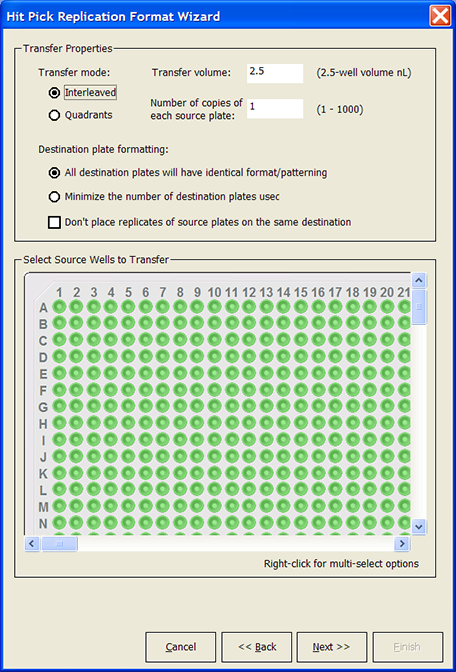
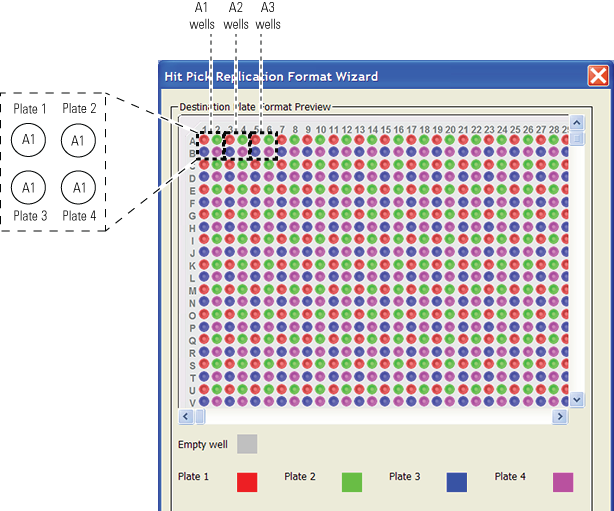
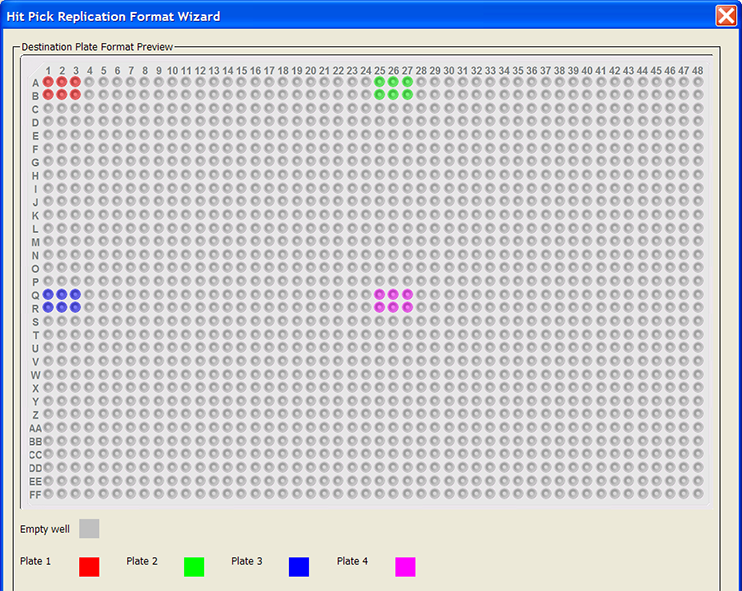
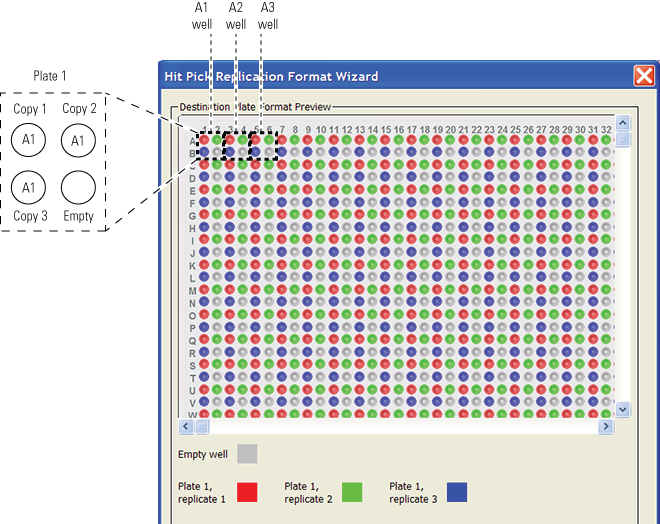
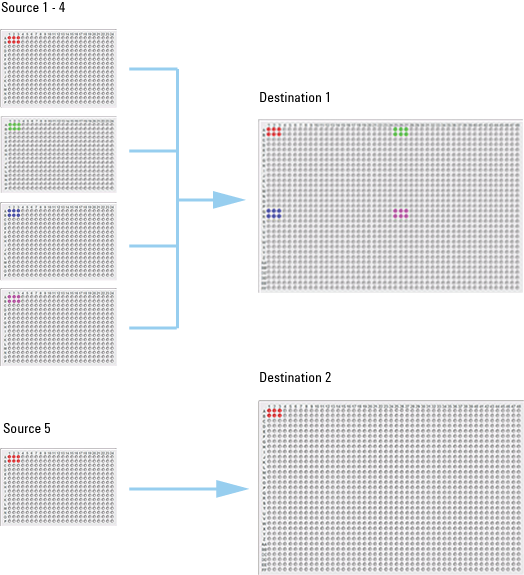
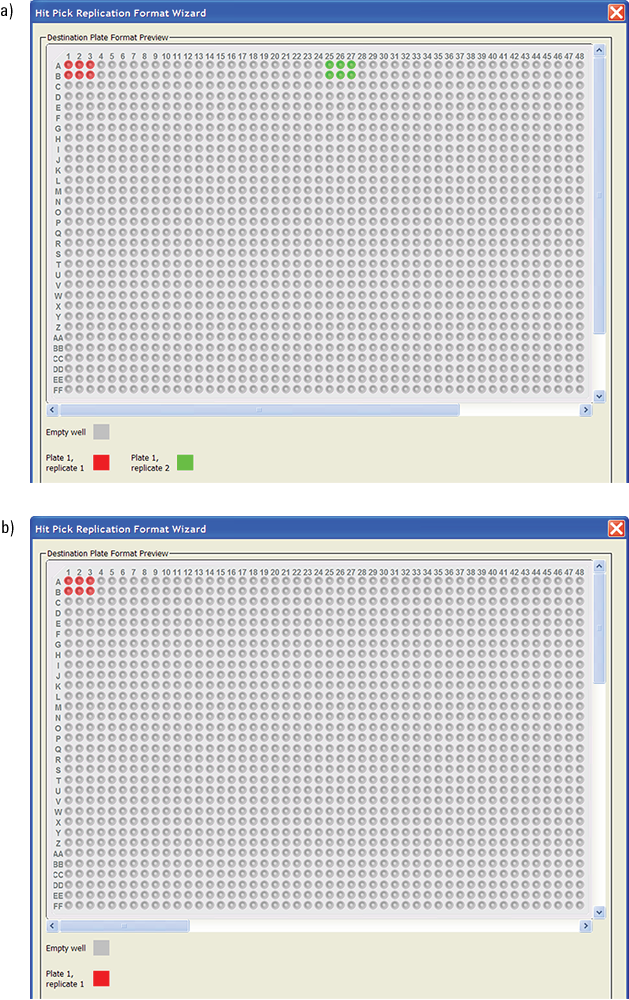
Hit Pick Replication (Bravo)
) at the top right corner of the dialog box to return to the Hit Pick Routine Wizard. To continue in the Hit Pick Routine Wizard, return to step 3 in Adding the Hit Pick Replication task.