Setting up PostgreSQL for the E-Signatures database
This topic is applicable only for compliance-enabled editions of the VWorks software.
If you are also planning to use the Experiments Editor, also see Setting up and connecting VWorks Experiments database.
Before you start
Required installation files
Ensure you have the required installation files:
Installation File | Comments |
|---|---|
psqlodbc_x86.msi | Typically, Agilent-supplied computers already have the 32-bit ODBC driver for PostgreSQL installed. You do not need this installation file in this case. For other computers, contact Agilent Technical Support to obtain the correct version of this file. |
VWorksESignatures_postgres.sql | This schema file is installed with the VWorks software at C:\\Program Files (x86)\Agilent Technologies\VWorks\Schema. |
Required computer settings
Before you install the software:
• Log on to the computer as an administrator with full rights.
• In Microsoft Windows Explorer, select the following View > Show settings:
– Select Hidden items.
– Select File name extensions.
For detailed instructions, see the Microsoft Windows user documentation.
Setup and connection workflow
Step | For this task... | See... |
|---|---|---|
1 | If you are using a non-Agilent computer, install the 32-bit ODBC driver for PostgreSQL. Typically, this step has already been done on Agilent-supplied computers. | |
2 | Import the E-Signatures database schema into PostgreSQL. | |
3 | Create the ODBC data source. | |
4 | Establish a connection to the E‑Signatures database in the VWorks Options dialog box. |
Installing 32-bit ODBC driver for PostgreSQL
To install the 32-bit ODBC driver for PostgreSQL:
1 Copy the following file to your computer:
psqlodbc_x86.msi
2 Run the psqlodbc_x86.msi.
Importing the E-Signatures database schema into PostgreSQL
To import the E-Signatures database schema into PostgreSQL:
1 Copy the schema file, VWorksESignatures_postgres.sql, into the following directory:
C:\Program Files (x86)\PostgreSQL\15\bin
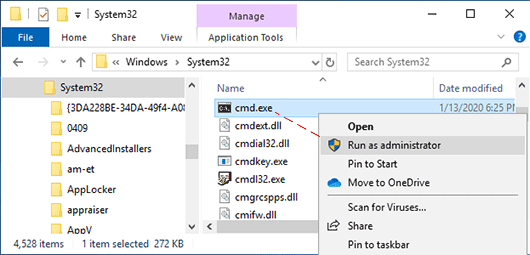
2 Open a Command Prompt window as Administrator.
a In the C:\Windows\System32 folder, right-click cmd.exe, and then select Run as administrator.
b Click Yes in the User Account Control dialog box that opens.
 |
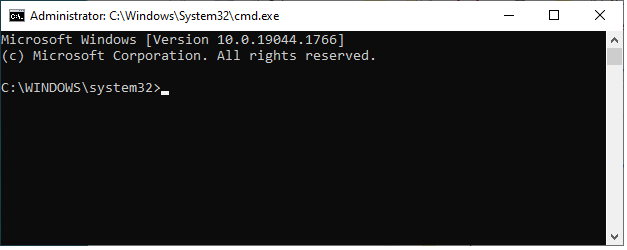
The Command Prompt window opens and displays the following prompt: C:\WINDOWS\system32>
 |
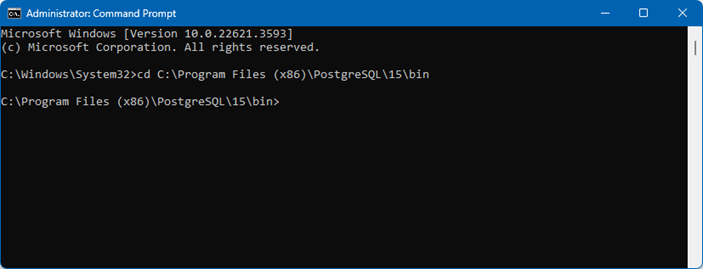
3 In the Command Prompt window, navigate to the directory where you copied the schema file in step 1.
Note: The command to change directories is cd.
a At the C:\WINDOWS\system32> prompt, type the following:
cd C:\Program Files (x86)\PostgreSQL\15\bin
and press Enter.
b Ensure that the returned prompt displays the full file path for the directory where you copied the schema file in step 1.
 |
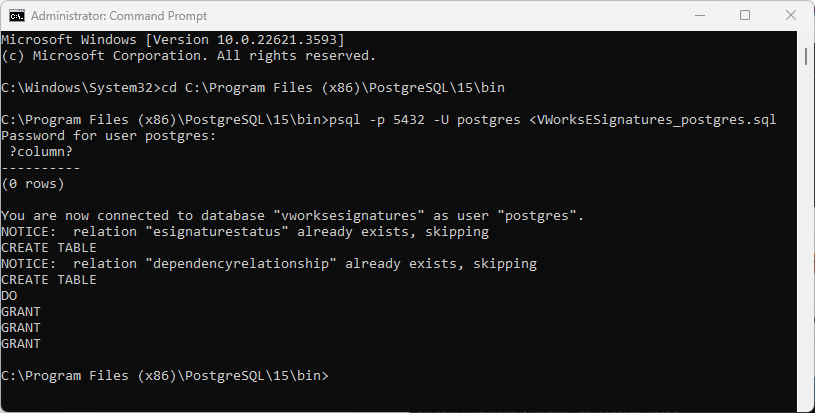
4 Type the following command at the prompt returned by the previous step:
psql -p 5432 -U postgres <VWorksESignatures_postgres.sql
The full command line would be:
C:\Program Files (x86)\PostgreSQL\15\bin>psql -p 5432 -U postgres <VWorksESignatures_postgres.sql
 |
Press Enter. The following prompt appears:
Password for user postgres:
5 Type the password for the postgres database user:
superadmin
superadmin
In the Command Prompt window messages, you should see the following:
You are now connected to database “vworksesignatures” as user “postgres”.
The following figure shows an example with this message.
 |
Creating the ODBC data source
To create the ODBC data source:
1 Open the ODBC Data Source Administrator, as follows:
In the C:\Windows\SysWOW64 folder, right-click odbcad32.exe, and then select Run as administrator.
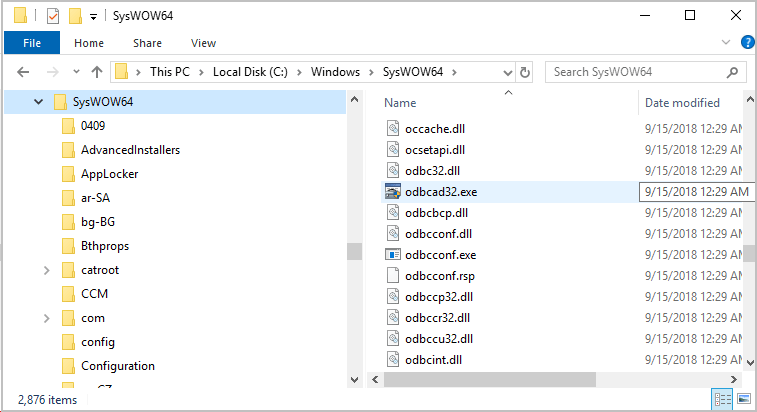 |
The ODBC Data Source Administrator dialog box opens.
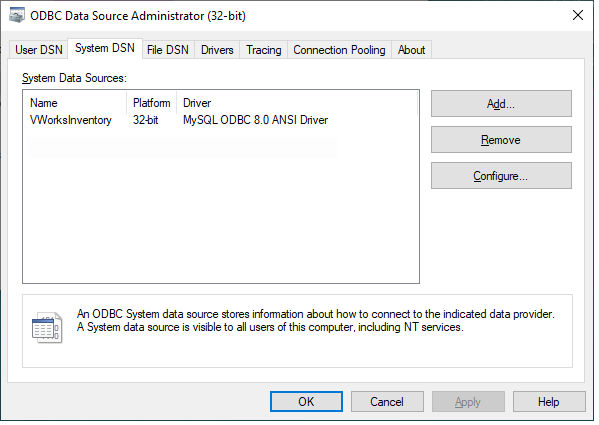 |
2 In the System DSN tab:
a Verify that no data sources named VWorksESignatures are listed. If a data source name VWorksESignatures is present, remove it or use the Configure button to rename it.
b Click Add to add the new data source.
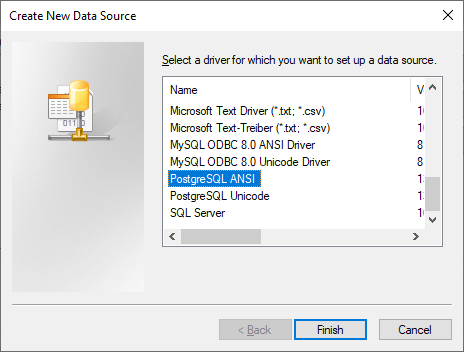
3 In the Create New Data Source dialog box, select PostgreSQL ANSI, and then click Finish.
 |
4 In the PostgreSQL ANSI ODBC Driver (psqlODBC) Setup dialog box, type the following values:
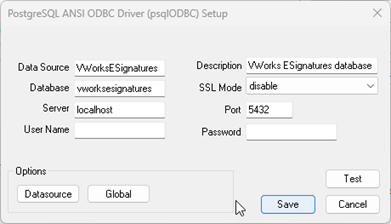 |
Field | Value |
|---|---|
Data Source | VWorksESignatures |
Description | VWorks ESignatures database |
Database | vworksesignatures |
Server | localhost |
Port | 5432 |
Ensure that you enter the listed values, matching the lowercase and uppercase letters and spacing as shown.
Click Save.
5 In the ODBC Data Source Administrator dialog box, verify that the data source VWorksESignatures is listed as a PostgreSQL ANSI driver. Click OK to close the dialog box.
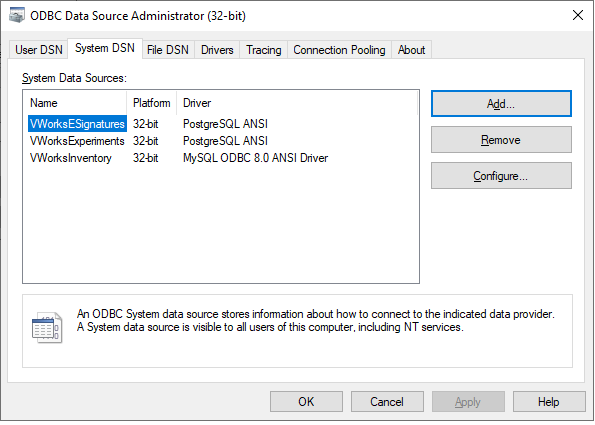 |
Related information
For information about... | See... |
|---|---|
Connecting to E-Signatures database | |
VWorks E-Signatures | |
Connecting to Experiments database |