Configuring labware
About this topic
After you create a new protocol, you can configure labware for devices that have locations for labware placement. When labware is configured at a device location, the labware might be moved from its location for deadlock avoidance or be used as a counterweight, but returned to the same location by the end of the run.
For example, you can configure labware that will be stored at Bravo deck location 2. During the protocol, the labware will be moved to deck location 5 temporarily for processing, and then returned to deck location 2.
This topic explains how to configure labware. For more information about configured labware and how it is used in a protocol, see Planning labware use.
Configuring labware for Auto managed counterweight
If you are configuring labware for use as an Auto managed counterweight, see Example: Auto managed counterweight mode for instructions on how to configure labware for this feature.
Procedure to configure labware
To configure labware:
1 In the Main Protocol of the VWorks window, in the area below the protocol process, click Configure Labware.
 |
The Configure Labware dialog box opens.
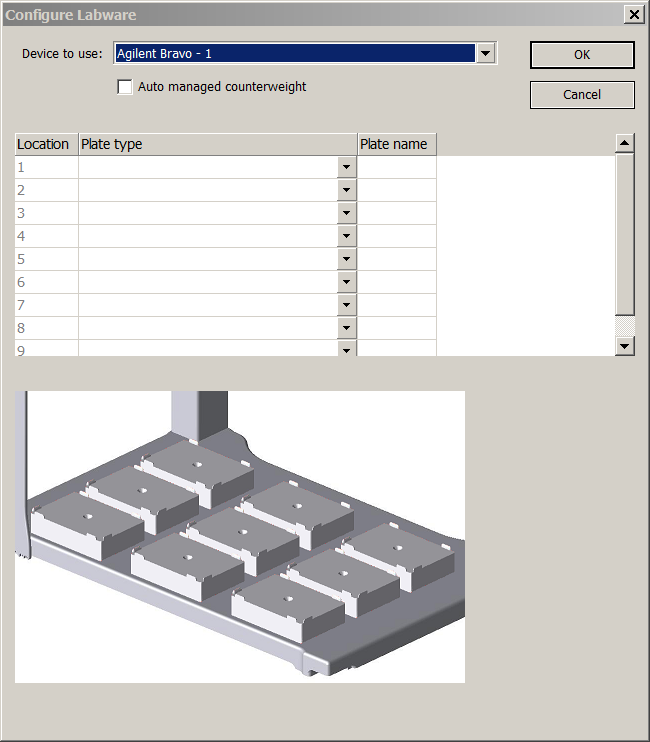 |
2 In the Device to use list, select the device on which you want to configure labware.
Note: Devices that are in the device file and have labware placement locations appear in the list. Exceptions include storage devices such as the Labware MiniHub, centrifuge devices, and stacking devices.
3 If you are configuring labware as an auto-managed counterweight for use with the Centrifuge or Centrifuge with Loader, select Auto managed counterweight. See Example: Auto managed counterweight mode for further information and instructions on using this feature.
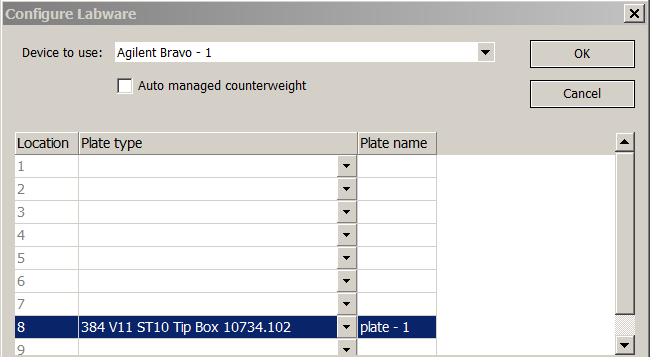
4 In the Location table:
a In the Plate type column, select the labware for the corresponding location.
b In the Plate name column, double-click the text box, and then type a name for the labware you selected.
Note: For the Bravo Platform, configured static labware (from protocols created in VWorks4 version 6.2.3 or earlier) will appear in the table and graphic. However, configured accessories do not appear in the table and graphic.
 |
5 When you are finished, click OK to save the information and close the Configure Labware dialog box.
In the Main Protocol area, the labware appears. Click + to expand and view the labware icon. Notice that two Place Plate tasks are automatically added, one to indicate its starting location and the other to make sure it returns to its starting location at the end of the protocol.
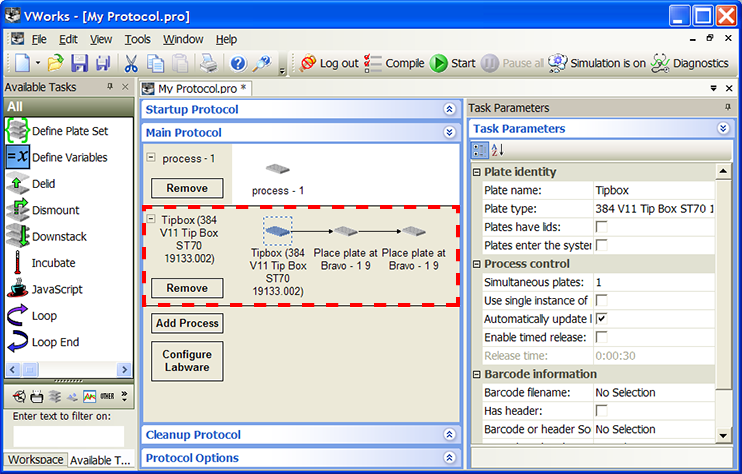 |
6 Select the configured labware icon. In the Task Parameters area, set the plate properties. For a description of the plate properties, see Setting plate parameters.
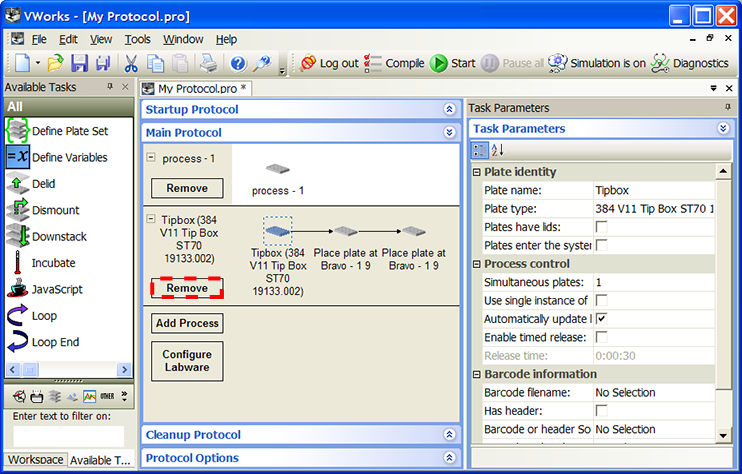
7 If you want to remove the configured labware, click Remove.
 |
8 To convert a configured labware to a process plate (labware that is transferred into the system and out of the system during the run), in the Process Control area, clear the Automatically update labware check box.
The background in the configured labware process area becomes white, indicating that it is converted to a protocol process.
Note: You can use the Automatically update labware option to update a labware location throughout the protocol. For example, clear the check box, and then update a configured labware location from Bravo deck location 3 to location 5. Then select Automatically update labware. The software automatically makes the changes throughout the protocol.
 |
Using configured labware
When you add a task in the process, you can use available configured labware by selecting it from the Location, plate list. In addition, if more than one subprocess uses the same configured labware, and the subprocesses are in different protocol processes, you can specify the sequence in which the subprocesses will be performed. For instructions, see SubProcess (Agilent Bravo).
Related information
For information about... | See... |
|---|---|
Planning labware use | |
Process plates | |
Planning for devices and accessories in the protocol | |
Static labware |