Creating and managing location groups
About this topic
This topic describes how to create a labware location group in the Inventory Editor. Read this topic if your lab automation system has a random-access storage device, such as the Labware MiniHub.
Procedure
To create a location group:
1 In the VWorks window, select Tools < Inventory Editor.
2 In the Inventory Editor window, click the Location Groups tab.
3 Click Create new, type a name for the group, and click OK.
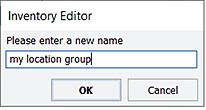 |
4 In the Available Slots area, select a group of slots and drag the selection into the Location Members area.
You can use CTRL+click or SHIFT+click to select more than one slot. Alternatively, you can double-click a slot to add it to the location group.
Note: The slots do not have to be adjacent to each other. For example, if you have different height shelves in the Labware MiniHub, you might want the location group to define the same shelf (slots) in all four cassettes.
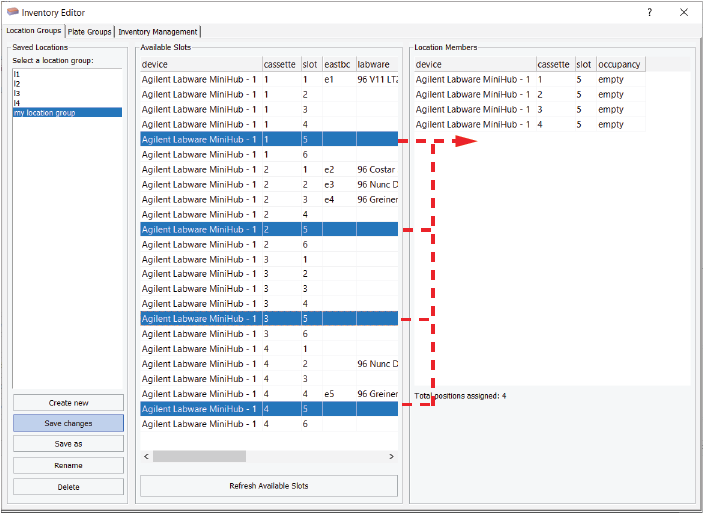 |
Note: To delete a member of the location group, select the item in the Location Members area, and then press DELETE.
5 Click Save Changes.
6 Close the Inventory Editor window.
The new location group is listed as an available location in Locations tab of the Load/Unload Task Parameters area.
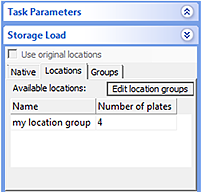 |
Deleting a location group
To delete a location group from the inventory:
1 In the Inventory Editor window, click the Location Groups tab.
2 Select a location group in the Saved Locations area.
3 Click Delete.
Related information
For information about... | See... |
|---|---|
Creating a plate group | |
Opening the Inventory Editor | |
Moving labware in and out of a storage device | |
Incubating labware | |
Using barcode input files | |
Using storage tasks in a protocol |